Bytenap Networks

Bytenap-Network_color

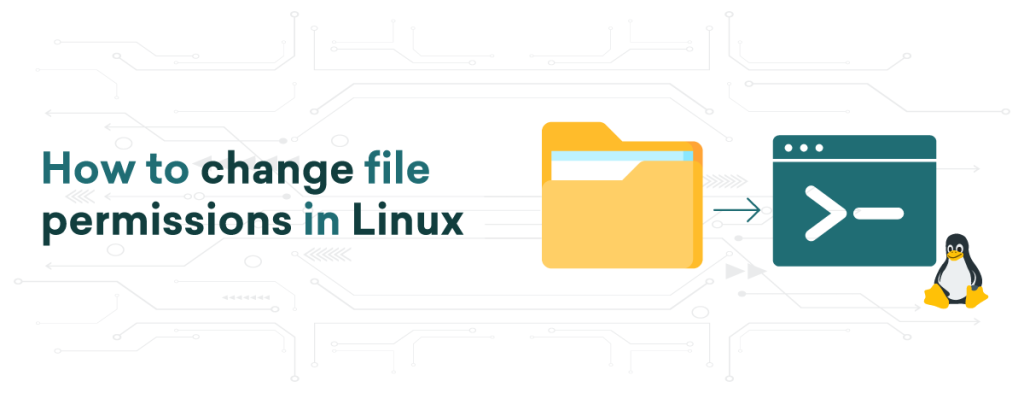
How to change file permissions in Linux

In the world of Linux, understanding how to modify file permissions is crucial for maintaining system access and ensuring security. By properly managing file permissions, you can control who can read, write, or execute files, thereby safeguarding your sensitive data and applications.

In this guide, we will explore the step-by-step process of changing file permissions in Linux. Whether you are using Ubuntu, CentOS, or Red Hat Enterprise Linux, we will focus on utilizing the command line interface to make these modifications.

Key Takeaways:

  • Changing file permissions in Linux is essential for system access and security.
  • Linux is an open source operating system based on the Unix-like system.
  • Mastering the command line interface is crucial for modifying file permissions in Linux.
  • Popular Linux distributions like Ubuntu, CentOS, and Red Hat Enterprise Linux can benefit from these file permission modifications.
  • Properly managing file permissions ensures the integrity and safety of your data and applications.
  • Understanding Linux file permissions

    Before we delve into the steps of changing file permissions in Linux, it’s important to have a basic understanding of how file permissions work in this open-source operating system. Linux is an open source operating system that is built on the Unix-like system. At the heart of Linux is the kernel, which acts as the core of the operating system.

    The Linux Kernel

    The Linux kernel is the foundation of the entire operating system. It is responsible for managing hardware resources, providing low-level services, and enabling communication between software and hardware components. The kernel acts as a bridge between the hardware and the software layers, allowing the operating system to function smoothly.

    Unix-Like System

    Linux is classified as a Unix-like system because it shares many similarities with the Unix operating system. Unix-like systems are designed to be multi-user, multitasking, and provide a hierarchical file structure. These systems prioritize stability, security, and performance, making them ideal for a wide range of applications.

    Open Source Operating System

    Linux is known for being an open-source operating system, which means that its source code is freely available and can be modified and distributed by anyone. This open nature fosters collaboration, innovation, and customization, leading to a vibrant community of developers and users who contribute to the continuous improvement of the Linux ecosystem.

    By having a grasp of the Linux operating system, its open-source nature, and the role of the kernel, you will be better equipped to understand and navigate the process of changing file permissions in Linux.

    Steps to modify file permissions in Linux

    Now that we have a grasp of the basics, let’s explore the step-by-step process of modifying file permissions in Linux. This guide will cover different methods that can be used on popular Linux distributions such as Ubuntu, CentOS, and Red Hat Enterprise Linux. We will focus on using the command line interface to make these changes.

    Method 1: Using the chmod Command

    The chmod command is a powerful tool for modifying file permissions in Linux. It allows you to change the read, write, and execute permissions for the owner, group, and others.

    The following table provides an overview of the most commonly used file permissions:
    Permission Symbol Permission Meaning Octal Value
    r
    Read
    4
    w
    Write
    2
    x
    Execute
    1
    To modify file permissions using the chmod command, follow these steps:
    1. Open the command line interface on your Linux server.
    2. Locate the file whose permissions you want to modify.
    3. Use the chmod command, followed by the desired permission symbols and the file name or path, to change the permissions. For example, to give the owner read and write permissions, the group read permission, and others no permissions, you would use the command:

    chmod 640 file.txt

    4. Verify that the permissions have been successfully modified by using the ls -l command to list the file details.

    Method 2: Using the chown Command

    The chown command is used to change the ownership of files in Linux. By changing the owner, you can also modify the file permissions.

    To change the ownership and permissions of a file using the chown command, follow these steps:
    1. Open the command line interface on your Linux server.
    2. Locate the file whose ownership and permissions you want to modify.
    3. Use the chown command, followed by the username or user ID, and the file name or path, to change the ownership. For example, to change the ownership to the user “john” and the group “users”, you would use the command:

    chown john:users file.txt

    4. Verify that the ownership and permissions have been successfully modified by using the ls -l command to list the file details.
    By following these steps, you can easily modify file permissions in Linux using the command line interface. This gives you the flexibility to manage system access and ensure the security of your files and directories.

    Conclusion

    Mastering the art of changing file permissions in Linux is essential for ensuring the security and integrity of your system. By understanding and implementing the steps outlined in this guide, you can effectively manage file access and protect your valuable data and applications.

    Linux file permissions provide a powerful system for controlling who can read, write, and execute files. By utilizing the command line interface, you have greater control over the permissions assigned to different users and groups.

    Remember, maintaining strong system access controls is crucial for safeguarding sensitive information and preventing unauthorized access. By regularly reviewing and adjusting file permissions, you can minimize the risk of security breaches and maintain a secure computing environment.

    Social Media

    Stay Informed For Online World & Business Updates!

    Scroll to Top

    Linux Reseller Hosting Comparison Plan

    LR-S LR-M LR-XL LR-XXL
    SSD Disk
    100GB
    200GB
    Unlimited
    Unlimited
    Bandwidth
    Unlimited
    Unlimited
    Unlimited
    Unlimited
    cPanel Accounts
    20
    40
    60
    100
    Free Migration
    Free SSL Certificates
    Domain Hosted
    Unlimited
    Unlimited
    Unlimited
    Unlimited
    FREEBIES
    350+ one click Script Installer
    Weekly Backups
    Free SSL Certificates
    CloudFlare CDN
    Domain Reseller Account
    RESELLER FEATURES
    Private Name Servers
    WHM Panel
    Client Backup Restores
    Per cPanel SSH Access
    ACCOUNT RESOURCES
    Add-On Domains
    Unlimited
    Unlimited
    Unlimited
    Unlimited
    Sub-domains
    Unlimited
    Unlimited
    Unlimited
    Unlimited
    Parked Domains
    Unlimited
    Unlimited
    Unlimited
    Unlimited
    Databases
    Unlimited
    Unlimited
    Unlimited
    Unlimited
    FTP Accounts
    Unlimited
    Unlimited
    Unlimited
    Unlimited
    CPU Core
    1 Core
    1 Core
    1 Core
    1 Core
    RAM
    1 GB
    1 GB
    1 GB
    1 GB
    Entry Processes
    20
    20
    20
    20
    IO Speed
    4 MB/s
    4 MB/s
    4 MB/s
    4 MB/s
    SERVER FEATURES
    LiteSpeed Web Server
    PHP v5.6 to latest
    MySQL / MariaDB
    Web Application Firewall
    Caching
    CloudFlare CDN
    CloudLinux
    CageFS
    DDoS Protection
    Server Locations
    US | CA | DE
    SECURITY FEATURES
    DDoS Protection
    Web Application Firewall
    Brute-Force Protection
    Brute-Force Protection
    Two-Factor Authentication
    Email Virus Scanner
    CageFS Account Isolation
    ByteNAP ASSURANCES
    Uptime Guarantee
    24x7x365 Support
    Live Chat Support
    Free Migration
    Cancel Anytime
    Instant Setup
    AVAILABLE ADDONS
    Instant SetupDedicated IP
    $4.5/Mo
    $4.5/Mo
    $4.5/Mo
    $4.5/Mo
    Upgrade to Daily Backups
    $5/mo
    $5/mo
    $5/mo
    $5/mo

    Managed Services

    Managed Support

    Get fully managed support from Experts
    with Pro Active monitoring

    Domain

    Domain Registration

    Register Domain Today

    Domain Transfer

    Domain Transfer are Quick, Easy &
    Affordable

    Email

    Cloud Mail

    Connect & Collaborate with Customers

    Google Workspace

    Create, Communicate & Collaborate

    Security & Backup

    SSL Certificate

    Secure Your Data & Transactions with SSL Certificate

    BitNinja

    Secure your Webpages with BitNinja Server

    Acronis Cloud Backup

    Secure Data Backup for Businesses of All Sizes

    Servers

    Bare Metal Servers

    Solid Performance Bare Metal Server

    GPU Servers

    Next-Generation GPU Server

    Clearance Servers

    Stable Clearance Dedicated Server

    Cloud VPS

    Linux VPS

    Get Faster Loading Speed with Linux VPS Hosting

    Windows VPS

    Leading Windows VPS Hosting

    Managed Linux VPS

    Powerful Managed Linux VPS Hosting

    Managed Windows VPS

    Realiable Managed Windows VPS Hosting

    Hosting

    Linux Hosting

    Feature Packed Linux Hosting

    Windows Hosting

    Stable Windows Hosting Server

    Wordpress Hosting

    Best & Secure WordPress Hosting

    Linux Reseller Hosting

    Start Business with Linux Reseller Hosting

    Windows Reseller Hosting

    White-label Windows Reseller Hosting